
Your solar installation, step by step.
From site evaluation to Permission to Operate, with CoC and SSEG application handled for you.
Start an assessmentNot sure what really happens between saying yes and switching on?
Does this sound familiar?
A solar system should reach switch on with every approval in place, not a pile of paperwork left to you.
We help South African homes and businesses get from yes to switch on, with the paperwork handled.
Whether it is your home or your business, you want to say yes to solar without becoming the project manager. The permits, the Certificate of Compliance and the municipal application all have to be done properly before anything can be switched on.
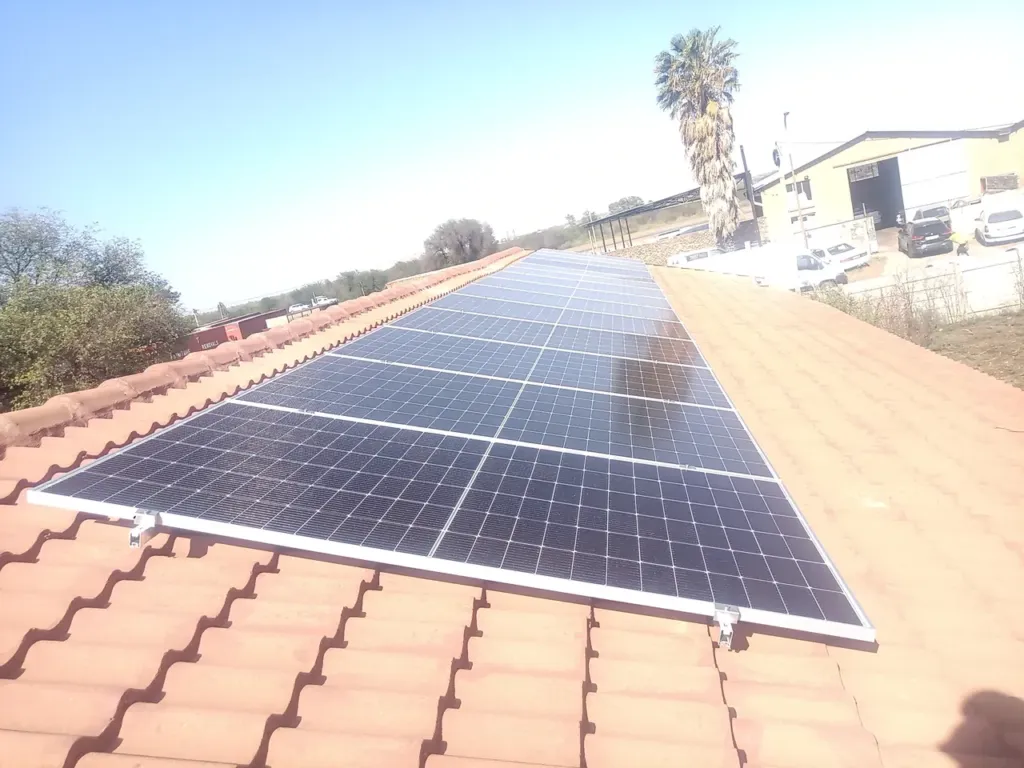
EFJS Printing's 30 kW FoxESS system paid back its investment in 2.5 years. A family home we have done runs a 16 kW inverter, a 12 kWh battery and 27 x 600 W panels (16.2 kWp). On every job a structural engineer signs off the roof before installation starts, mounting is designed to protect your roof warranty, and we handle the CoC and SSEG application, with SSEG fees and meter costs included in your quote.
And we can do the same for you.
No paperwork left to you
We handle the CoC and SSEG application, which means your system is switched on legally.
Know the timing
Installation itself typically takes one to two days, which means little disruption to your property.
Fees included
SSEG fees and meter costs are included in your quote, which means no surprise costs at the municipal stage.

Installing solar involves several steps, from site evaluation to sign-off. Here’s what to expect, whether it’s your home or your business. At ZenSolar, we take care of all the legal and regulatory aspects associated with the installation, so you can focus on enjoying the benefits of renewable energy.
Start here: Book the free energy assessment
Every job starts with a free energy assessment. We review your bill and usage, look at your site, and you get a report in about 1 to 2 weeks, as a PDF with a walk-through, showing your system size, equipment list and payback time.
Step 1: Site evaluation
During the site evaluation, our professional installer visits your property to verify the planned system design. This serves as an assurance check to ensure that everything necessary for a smooth installation is in place. The installer examines the roof, attic, electrical setup, and battery placement if applicable. Any changes or adjustments needed to the initial plan are addressed at this stage.
Step 2: System design approval
Once the site evaluation is completed, the results are reviewed. If any changes were made to the original design, you have the opportunity to provide feedback or approve the final design before it is sent for permit approval. The design approval process covers not only the aesthetics but also the electrical work and expected system production.
Step 3: Permit approval
Obtaining permit approval is crucial to ensure compliance with the electrical and structural safety requirements. Our team prepares the necessary permitting documents, including the approved design, and submits them to the city for approval. SSEG fees and meter costs are included in your quote.
Step 4: Installation
The installation phase typically takes one to two days, although it may take longer for larger projects or unexpected challenges. The installation is done by our team and preferred, vetted installers approved by the brands, to SANS standards and with meticulous attention to detail. We use weatherproof wiring, connectors, fuses, breakers and peripherals. Safety is of utmost importance, and we strictly adhere to best practices and safety codes.
What’s installed?
The installation includes the “Big” items like solar panels, inverters, and batteries (for backup power storage). Additionally, we take care of the “Small” items, including solar cable, DC combiner box, fuse disconnect, roof mounting kit, and trunking. Our professional team handles all aspects of the labor involved, such as installation, DB wiring, and issuing a Certificate of Compliance (CoC).
Step 5: Final city inspection
After the installation is complete, a city inspector conducts a final inspection. This inspection checks that the work matches the permitted scope and meets the regulations.
Step 6: Utility connection
The final step involves commissioning your solar system to ensure it operates as designed. Our team assists in applying for utility connection, providing the necessary documentation, including the contract and scope of work. Once approved or granted Permission to Operate (PTO) by the utility company, you can turn on your system and start producing your own clean energy.
This multi-step process ensures that the solar industry operates in a regulated manner, prioritizing safety for individuals and utility companies alike. Installing solar not only enhances your home and grants grid independence but also contributes to a more sustainable environment. We are thrilled to be part of your solar journey, making a positive impact on both your energy consumption and the planet.
Why have ZenSolar handle your installation?
With us
- Permits and the CoC and SSEG application handled for you
- Certificate of Compliance issued for your system
- Structural engineer sign-off on every job, roof warranty protected
- We install and maintain your system
- SSEG fees and meter costs included in your quote
With them
- Paperwork left to you
- No one checking the install is compliant
- Surprise fees at the municipal stage
- No structural sign-off on your roof
- No one local to call once it's on the roof
Frequently asked questions
It follows six steps: site evaluation, design approval, permit approval (including the CoC and SSEG application, which we handle for you), physical installation (typically 1 to 2 days), final city inspection, and utility connection and Permission to Operate. It starts with your free energy assessment.
The installation itself typically takes one to two days. Most jobs take about 1 to 3 weeks from your first call to the day your system switches on, depending on how quickly approvals come through, whether your paperwork is ready, and the size of your system. Bigger or more complex sites can take longer.
It depends on your system size, how much battery storage you want, your roof or site, and whether you are on single or three phase power. A free energy assessment based on your own usage gives you a number that means something. SSEG fees and meter costs are included in your quote.
Yes. Homes can rent to own, lease or buy outright. Businesses can also ask about a PPA, which is for businesses only. A free energy assessment shows which suits you. Speak to a tax practitioner about any business tax allowances that may currently apply to your business.
Savings depend on system size, your energy usage and your tariff. Many homes and businesses offset a large portion of their electricity costs, up to 92%. Your free energy assessment report shows your own system size, equipment list and payback time.
A COC is a legal document, issued only by a registered Installation Electrician, confirming your solar installation meets SANS 10142-1 wiring standards. Issuing it is part of our installation as standard. It's mandatory before any grid-connected system is switched on, and without a valid COC covering your whole electrical installation, insurers can refuse claims.
Permission to Operate (PTO) is the utility's formal sign-off that your grid-tied system is safe to switch on and connect to the network. It comes after the final city inspection and is the last step before you can legally start generating your own power.
For a grid-tied system, SSEG registration should be submitted before or during installation, not left until afterwards, since some municipalities require an approved single-line drawing before they'll sign off the connection. We handle the CoC and SSEG application as part of the permit-approval step, and SSEG fees and meter costs are included in your quote.
Most roof types can take solar, though the mounting method changes, tile roofs use hook systems that limit penetrations into the waterproof layer, metal roofs use clamps that don't puncture the sheeting, and flat concrete roofs use angled, ballasted frames with no penetrations at all. An older roof should be structurally assessed before installation, since re-roofing after panels are up is far more disruptive.
No, done properly it protects it. Our mounting method is designed to protect your existing roof warranty, and every job gets sign-off from a structural engineer before installation starts, so the roof itself is checked, not just the panels on top of it.
Most installers schedule a short, planned power-down only during final connection to the distribution board, not for the full one-to-two day installation period. Ask us to confirm the expected timing for your specific installation.
It depends on the options you choose when you sign up. We do not sell one fixed maintenance package, because sites and equipment vary. Every system carries a 10-year swap-out warranty on the inverter and battery.