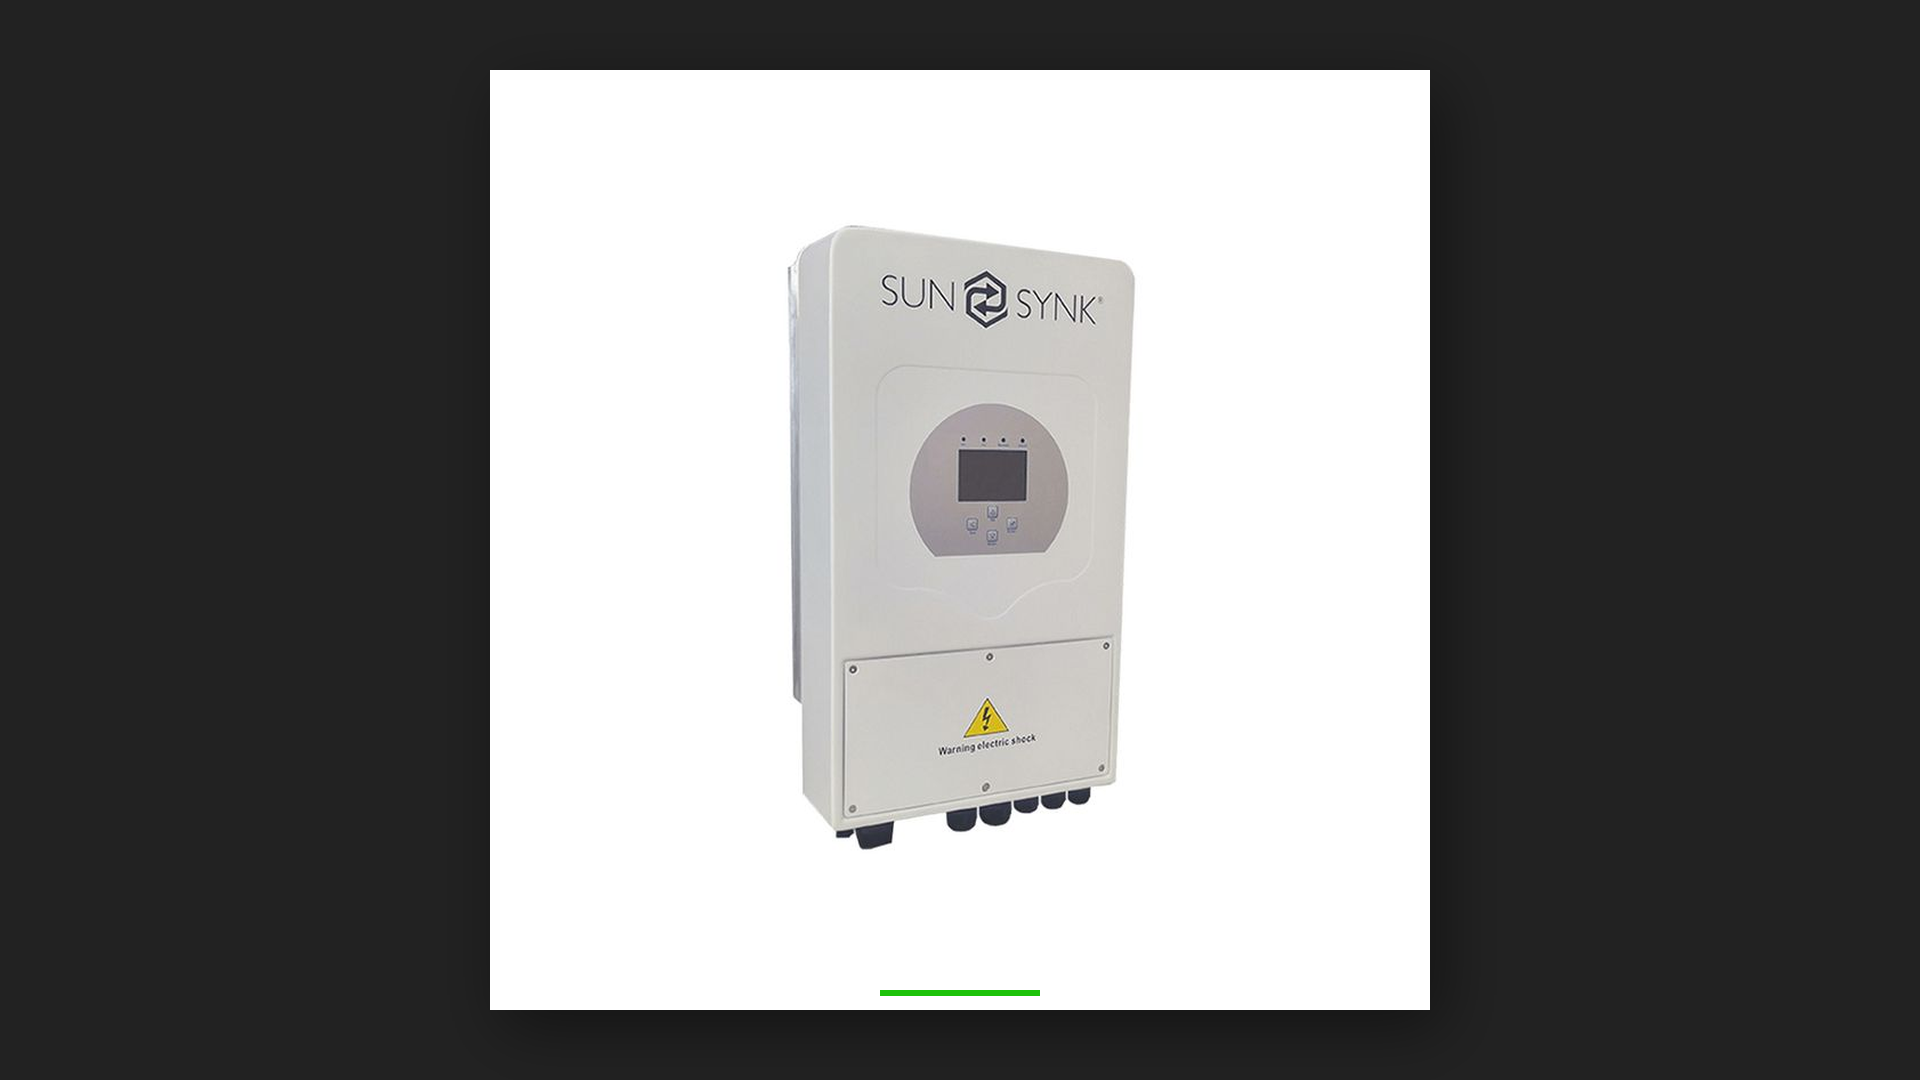
A Sunsynk inverter that isn’t connected to WiFi is doing its job with the lights off: the system works, but you cannot see it working. Getting your inverter online unlocks the monitoring that makes solar ownership genuinely satisfying — live production figures, battery state, consumption patterns and fault alerts, all from your phone, from anywhere. It is also one of the first things to break silently when a router gets replaced. This step-by-step guide walks through connecting a Sunsynk inverter to WiFi for the first time, reconnecting after a network change, and fixing the most common connection problems.
Where ZenSolar fits: we install Fox ESS and Sigenergy systems, not Sunsynk, so this guide is offered as a straight service to Sunsynk owners. If you’re weighing what to install next, that’s covered near the end.
Before You Start: What You Need
- The WiFi data logger (dongle) — Sunsynk inverters connect to the internet through a small data logger plugged into the inverter’s communications port. It is normally fitted during installation; if yours is missing, speak to your supplier.
- The dongle’s serial number — printed on the dongle itself, and needed to register the system for monitoring.
- Your home WiFi name and password — exactly as configured, including capitalisation.
- A smartphone with the Sunsynk monitoring app installed, or access to the Sunsynk monitoring portal in a browser.
- Reasonable WiFi signal at the inverter — inverters often live in garages, on outside walls or in outbuildings, which are exactly the places home WiFi struggles to reach. Check that your phone holds a usable signal standing next to the inverter before you begin.
Step 1: Create Your Monitoring Account
Download the Sunsynk monitoring app from your phone’s app store, or open the Sunsynk monitoring portal in a web browser, and create an account. If your installer commissioned the system, an account and “plant” (the system record for your property) may already exist — ask for the login details or an invitation to the plant rather than creating a duplicate. Owning your monitoring login matters: it keeps you in control of your own system data even if you change service providers later.
Step 2: Register the System and the Dongle
Inside the app or portal, add your plant if it does not already exist, then register the data logger against it using the dongle’s serial number. This is what links the physical hardware on your wall to your account on the monitoring platform. The exact screens vary with app versions, but the sequence — create plant, add logger by serial number — is consistent.
Step 3: Put the Dongle Into Configuration Mode and Connect
The dongle now needs to be told which WiFi network to use. Most Sunsynk data loggers are configured in one of two ways, and the app will guide you through whichever applies to your model:
- Hotspot method: the dongle broadcasts its own temporary WiFi access point. Using your phone’s WiFi settings, connect to that access point (its name typically includes the dongle’s serial number), then return to the app to continue configuration.
- In-app configuration: newer app versions can discover and configure the dongle directly, prompting you for your network details without a manual hotspot step.
If the dongle does not appear, power-cycling it — or pressing its reset control per the leaflet supplied with it — restarts configuration mode.
Step 4: Enter Your Home Network Details
When prompted, select your home WiFi network and enter the password precisely. Two details catch many people out. First, check whether your network name has similar-looking variants (for example a “guest” network) and pick the one with internet access and a stable password. Second, many data loggers work on 2.4GHz WiFi networks — if your router broadcasts separate 2.4GHz and 5GHz networks, connect the dongle to the 2.4GHz one; check your dongle’s documentation for what it supports. Confirm, and the dongle will restart and attempt to join your network.
Step 5: Verify the Connection
Back in the app or portal, your plant should show the logger online within a few minutes, and live data — solar production, battery state of charge, load and grid figures — should begin flowing. Give it a little time on first connection. Once data appears, you are done: from now on the system reports continuously, and you can check on it from anywhere with an internet connection.
Reconnecting After a Router Change
The most common Sunsynk WiFi problem is not a first-time setup at all — it is a system that quietly went offline the day a router was replaced or a WiFi password changed. The inverter keeps producing normally; it simply stops reporting. The fix is to repeat Steps 3 and 4 with the new network details. If your monitoring shows the system offline and you recently changed anything about your home internet, start there before suspecting the hardware.
Troubleshooting: When It Won’t Connect
- Weak signal at the inverter. The number one culprit. If your phone struggles to hold WiFi beside the inverter, the dongle will too. A WiFi extender or mesh node closer to the inverter usually solves it permanently.
- Wrong network band. If the dongle cannot see your network, check whether it supports your router’s band configuration — separating or renaming the 2.4GHz network on the router often helps.
- Password complexity. Re-enter the password carefully; unusual special characters occasionally cause trouble. Testing briefly with a phone hotspot can isolate whether the router is the problem.
- Dongle stuck. Power-cycle the dongle and retry configuration mode. If it never broadcasts and never connects, contact your supplier — data loggers are replaceable items and a warranty conversation is reasonable.
- Everything looks right but no data flows. Confirm the serial number registered on the platform matches the dongle on the wall, especially if the installer registered it originally.
One safety note: all of this is done from your phone and the dongle — none of it requires opening the inverter or working inside your distribution board. If a problem seems to go deeper than the WiFi connection, note the error and call a professional rather than investigating live equipment.
Why Monitoring Is Worth the Ten Minutes
Once connected, the monitoring platform quietly becomes the most valuable “component” in the system. It shows whether production matches expectations season by season, reveals consumption habits worth changing, and surfaces faults early — a string underperforming or a system offline gets noticed in days rather than at the next electricity bill. With Eskom tariffs climbing year after year, visibility into exactly how much energy your roof is producing is how you watch the investment pay itself back. If you are still weighing that investment, our articles on whether a solar system is worth it and how to size a solar system are the right starting points, and the pros and cons of owning solar gives you the balanced view.
If Connectivity Issues Are the Least of It
Most of the time, a Sunsynk system going offline is exactly what this guide describes — a router changed, a password updated, nothing wrong with the inverter itself. But if you’re troubleshooting this on top of other niggles, or the system is getting on in years and you’re starting to think about what comes next rather than what to patch, here’s what we’d fit.
We install Fox ESS and Sigenergy, both through manufacturer-approved installation, which is what keeps the warranty valid from day one. Fox ESS is modular and stackable, designed to be added to as your needs grow rather than replaced outright. Sigenergy is the integrated option: its SigenStor stack combines the inverter, battery, system controller and DC EV charging in a single unit from a single manufacturer, so one company is accountable for the whole stack instead of an inverter brand, a battery brand and an installer each pointing at the others.
Sigenergy’s own published terms back the Sigen Battery and Sigen Energy Controller for 10 years, guaranteeing at least 60% usable capacity at 10 years (or a stated energy-throughput limit, whichever comes first), extendable to 15 years if you register within 12 months of commissioning — terms we can put in front of you before you sign anything.
Not sure which system is right for you?